Arduino - 鍵盤串列埠
此示例偵聽來自串列埠的位元組。收到後,電路板會將擊鍵傳送回計算機。傳送的按鍵比接收的按鍵高一個,因此如果從序列監視器傳送 a,你將從連線到計算機的板上收到 b。 1 將返回 2,依此類推。
警告 - 使用 Keyboard.print() 命令時,Leonardo,Micro 或 Due 板接管計算機的鍵盤。為確保在使用此功能執行草圖時不會失去對計算機的控制,請在呼叫 Keyboard.print() 之前設定可靠的控制系統。此草圖設計為僅在電路板通過串列埠接收到位元組後傳送鍵盤命令。
需要的元件
你將需要以下元件 -
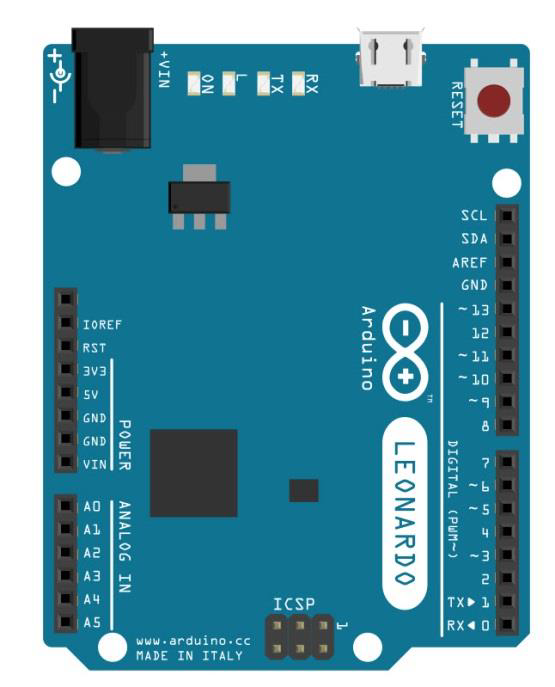
- 1×Arduino Leonardo,Micro 或 Due board
程式
只需使用 USB 線將電路板連線到電腦即可。
草圖
在你的計算機上開啟 Arduino IDE 軟體。用 Arduino 語言編碼將控制你的電路。單擊“新建”開啟新的草圖檔案。

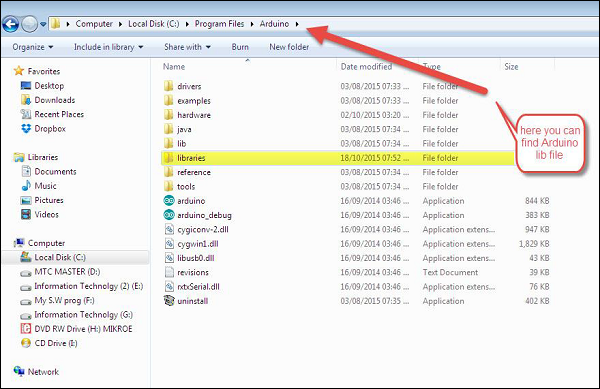
注 - 你必須在 Arduino 庫檔案中包含鍵盤庫。將鍵盤庫檔案複製並貼上到檔案中,並以黃色突出顯示名稱 libraries 。
Arduino 程式碼
/*
   Keyboard test
   For the Arduino Leonardo, Micro or Due Reads
      a byte from the serial port, sends a keystroke back.
   The sent keystroke is one higher than what's received, e.g. if you send a, you get b, send
      A you get B, and so forth.
   The circuit:
   * none
*/

#include "Keyboard.h"

void setup() {
   // open the serial port:
   Serial.begin(9600);
   // initialize control over the keyboard:
   Keyboard.begin();
}

void loop() {
   // check for incoming serial data:
   if (Serial.available() > 0) {
      // read incoming serial data:
      char inChar = Serial.read();
      // Type the next ASCII value from what you received:
      Keyboard.write(inChar + 1);
   }
}
程式碼注意
程式設計後,開啟序列監視器併傳送一個位元組。Arduino 板將通過擊鍵回覆,這是一個更高的數字。
結果
當你傳送一個位元組時,電路板將在 Arduino IDE 序列監視器上以一個更高的鍵擊響應。